Image courtesy of Scryfall.com
Alabaster Wall: Practical White Card-Draw Engines for Commander
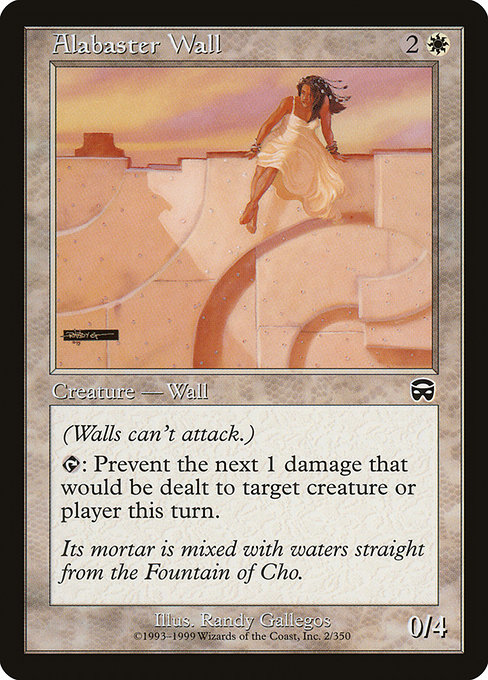
White in Commander isn’t only about removal and protection; it’s a patient, fortress-building color that quietly nurtures card advantage through untiring defense and smart engine placement. Alabaster Wall, a humble common from Mercadian Masques, embodies that philosophy. With a modest mana cost of {2}{W} and a stout 0/4 body, this Defender shows up not to threaten the battlefield but to shape the pace of the game. Its tap ability—“Prevent the next 1 damage that would be dealt to any target this turn.”—isn’t flashy, but it buys you turns. In a Commander game, those turns can be the difference between a brittle start and a confident draw-engine setup. 🧙🔥
What makes this wall a fit for card-draw ecosystems?
- Tempo and protection: In multiplayer formats, you’ll often be trading a bit of aggression for inevitability. Alabaster Wall can stall an opponent’s assault while you cultivate a hand full of draw engines and key spells. The mechanic is classic white—defend, endure, and outlast with a steady flow of cards while staying safely out of range of big punishments. 🛡️
- Set the stage for ETB-driven draw: The card-draw engines white players love in Commander often hinge on entering-the-battlefield triggers or life-gain synergies. Alabaster Wall’s presence on the battlefield helps ensure you reach those turns where your draw-promoting pieces hit the table, turn after turn. It’s the quiet gatekeeper that keeps the wheel spinning. 🎲
- Flavor-forward resilience: The flavor text—Its mortar is mixed with waters straight from the Fountain of Cho—evokes a fortress built by arcane, almost sacred means. That lore underpins a practical approach: build a white, pillowfort ecosystem that slowly grinds toward card advantage as you chip away at threats. The wall isn’t flashy, but it’s dependable. ⚔️
Three practical build patterns to leverage Alabaster Wall
Pattern A — Wall-centric draw tempo
Think of Alabaster Wall as the first brick in a defensive, draw-oriented edifice. Pair it with other defender-styled or ETB-draw creatures (for example, walls that replace themselves with a card when they enter). Each time you drop a draw engine, you’re simultaneously paying a modest tax to protect your life total and stabilize the game state. Your deck prioritizes cards that reward you for drawing, plus a handful of incremental draws that cascade when you repeatedly untap and recast your walls. The result is a slow, inexorable accumulation of resources while the board stays steady and resilient. 🧙🔥💎
Pattern B — Pillowfort protection with incremental draw
Alabaster Wall thrives in a fortress-style deck that uses enchantments and creatures to shield you from pressure. The plan is simple: pile up walls, cast draw spells when you can, and let your life total be a buffer while you assemble more cards than your opponents can answer. The damage-prevention ability is the toolkit’s hinge—each activation reduces the threat level on a single target for the turn, buying you another window to untap, draw, and deploy. In a table where one player is racing toward a dangerous combo, your defensively minded engine can tilt the game in your favor without ever needing to swing. 🛡️🎨
Pattern C — Life-gain and draw synergy (white’s quiet accelerants)
White loves lifegain as a catalyst for card advantage, and there are numerous white engines that love having a steady block in front of them. Alabaster Wall helps create a stable platform to weaponize those lifegain triggers or other draw-enabling effects that care about staying power on the battlefield. The card isn’t about flashy mana curves; it’s about dependable, repeatable value and the ability to weather a storm long enough to refill your grip. When your life total is preserved, you’ll find yourself drawing more reliably, and the wheels keep turning. 🧙🔥🎲
Mercadian Masques gave us a reminder that white can be quietly relentless: a creature that blocks, a tap to mitigate damage, and a story about guardianship at the Fountain of Cho. Alabaster Wall doesn’t shout; it sustains. In Commander, that sustainability is a form of card draw in disguise—the engine that lets you draw, filter, and deploy at your own tempo. If you’re chasing a durable, white-focused draw strategy, placing this wall as the anchoring piece in a fortress deck can pay off in a big, dramatic way as the later turns unfold. ⚔️🧭
“Fortress first, draw later, and never underestimate the quiet power of a well-timed block.”
For players who love the tactile thrill of turn-by-turn planning, Alabaster Wall offers a satisfying blend of utility and flavor. It’s a reminder that in the world of Commander, sometimes the best engine is the one you don’t even notice—until the moment you realize you’ve drawn three fresh cards, protected your life total, and your opponents are staring at an impregnable wall you built brick by brick. 🎨💎
As you assemble your deck, you’ll also want to keep in mind where this piece fits into the larger ecosystem of white card-draw engines. Look for ways to maximize ETB triggers, life-gain synergies, and defensive stax elements that keep the table in a safe, manageable rhythm. The key is to stay on plan: protect, draw, and deploy with intention. 🧙♂️
If you’re hunting for complementary gear to support your Commander hobby outside the battlefield, a quick detour into everyday gear can be a delight. For example, a sleek phone case that keeps your notes and tokens protected while you plan your next big play—something glossy, reliable, and detailed—could be a welcome companion during long tournament days or casual Friday games. Consider this practical option: Phone Case: Glossy Polycarbonate High Detail for iPhone—a stylish fit for the gamer on the go. Clicking the button below takes you there, seamlessly blending MTG passion with everyday convenience. 🧙🔥