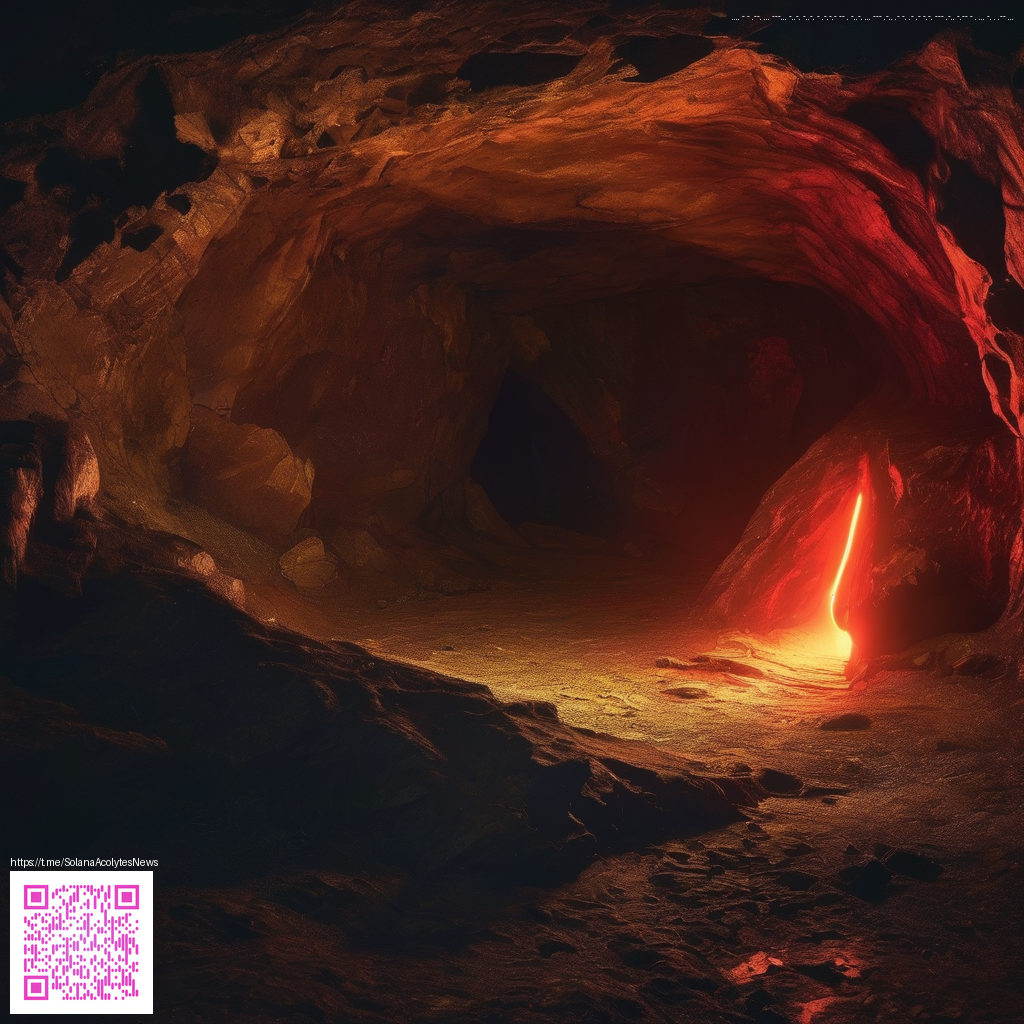
Texture overlays: elevating photographs with tangible mood
Texture overlays are more than decorative accents. They are a powerful way to add depth, atmosphere, and a tactile feel to digital images. When used thoughtfully, overlays can transform a flat, clinical shot into something with narrative—whether you’re aiming for gritty documentary realism, ethereal dreaminess, or vintage film character. The key is to treat overlays as a subtle instrument in your toolkit, adjusting how they interact with color, contrast, and light in your scene.
What to overlay and why
Overlays come in many forms: grainy film textures, fabric weaves, weathered wall surfaces, or even abstract patterns that mimic light leaks. The value lies in how they interact with your base image. A well-chosen texture can emphasize mood without overpowering the subject. Start by selecting textures that complement your color palette and storytelling goals. For portraits, a gentle grain embedded in the shadows can add timeless warmth; for landscapes, a subtle, desaturated grain can evoke a rugged, tactile feel.
How to source or create your overlays
- Capture real textures on location — rusted metal, concrete, wood grain, fabric stitches — and photograph them at high resolution.
- Scan everyday materials (paper, canvas, plaster) to build a personal library of unique overlays.
- Experiment with in-camera textures by moving fabrics or scrims across light and then converting to grayscale for overlays.
- Generate digital textures using brushes and patterns in your editing software, then export as PNGs with transparent backgrounds.
DIY workflow: building overlays that serve your edits
- Choose a texture that matches the desired mood and crop your base image to the intended composition.
- Open the texture as a new layer above your photo and set the blend mode to Overlay, Soft Light, or Multiply depending on the texture’s density and color.
- Dial in opacity to taste. A subtle touch (typically 10–40%) preserves subject detail while adding atmosphere.
- Use a clipping mask to restrict the texture to specific areas, if you want the effect localized to backgrounds or edges.
- Fine-tune contrast and color to ensure the texture harmonizes with your overall color grade.
Pro tip: start with a grayscale texture and add a gentle color wash on a separate adjustment layer. This keeps the texture from clashing with your subject’s skin tones while letting you guide the mood with color temperature.
As you experiment, you’ll discover that the subtlety of an overlay often matters more than its complexity. A well-integrated texture reads as part of the scene rather than an obvious edit. For field work, you’ll want a compact, reliable setup that doesn’t slow you down—especially when you’re juggling lighting, focus, and timing on set. For on-the-go use, a rugged option such as the Phone case with card holder can keep your essential gear protected while you review textures and edits on mobile. You can explore this accessory here: https://shopify.digital-vault.xyz/products/phone-case-with-card-holder-impact-resistant-polycarbonate-magsafe.
Practical tips for consistent results
- Maintain consistency by creating a small set of textures that align with your typical subjects and lighting conditions.
- Keep textures in a dedicated folder with descriptive tags so you can quickly locate the right overlay during a shoot.
- Test textures on different exposures and colors to ensure they’re versatile across your portfolio.
- Save final edits with layer masks intact so you can revisit and adjust textures later without discarding your original image.
Texture overlays aren't a gimmick; they’re a language. When you speak this language fluently, your images tell a stronger story with atmosphere—whether you’re documenting urban textures, moody landscapes, or intimate portraits.
Let your workflow breathe
Adopt a lightweight, repeatable process that fits your camera setup and editing software. Start with a handful of textures, apply them to different images, and observe how audience perception shifts. The best overlays emerge when the viewer stops noticing the texture and simply experiences the moment you’ve captured.
To keep the momentum going in real-world scenarios, consider having dependable gear that travels with you on shoots. The right accessories can streamline your editing flow and protect your tools. For instance, a compact phone case with card holder provides quick access to essentials while you’re on location, ensuring you stay ready to capture and revise on the fly. Learn more about this practical accessory here: https://shopify.digital-vault.xyz/products/phone-case-with-card-holder-impact-resistant-polycarbonate-magsafe.
When you’re ready to try texture overlays in your own edits, start simple, stay intentional, and let your subject guide the mood you want to convey. The world is full of textures; your challenge is to weave them into your narrative without overpowering the moment.
Pro note: if you’re curious about a quick, on-device way to review textures while on assignment, a rugged phone setup can be a big help—especially when you’re away from a desk. The right gear makes experimentation feel effortless rather than burdensome.
Similar Content
Similar content reference: https://horror-static.zero-static.xyz/3a4e0c49.html