Mastering Ombre Backgrounds with Digital Paper
If you’ve ever designed with digital paper, you know that a well-executed ombre backdrop can anchor a project, guide the eye, and add a touch of sophistication. Ombre isn’t a gimmick; it’s a versatile tool for creating depth, harmony, and mood. The secret lies in deliberate color shifts, texture, and a workflow that keeps layers flexible as you iterate. Below, we’ll explore practical steps to craft seamless ombre backgrounds that feel intentional, whether you’re building social graphics, website visuals, or printable textures.
Color theory: building a smooth transition
At its core, an ombre background is a controlled gradient. Start with a palette strategy: choose a dominant hue and two or three supporting tones that sit along the color wheel. Aim for soft transitions rather than abrupt shifts. A common approach is to select a midtone as the anchor, then tint toward lighter and darker versions. This creates a sense of depth without losing legibility for overlaid text or imagery.
- Pick a base color and identify a light stop and a dark stop that feel natural with that base.
- Test with different blend modes (soft light, overlay, or multiply) to see how the gradient interacts with textures.
- Use a slow, gradual gradient—fewer stops often yield a more refined result.
- Consider color temperature: cooler palettes feel calm, warmer palettes feel energetic.
“Small shifts in hue can dramatically influence perceived depth. The goal is a gradient that whispers rather than shouts.” — Design mentor
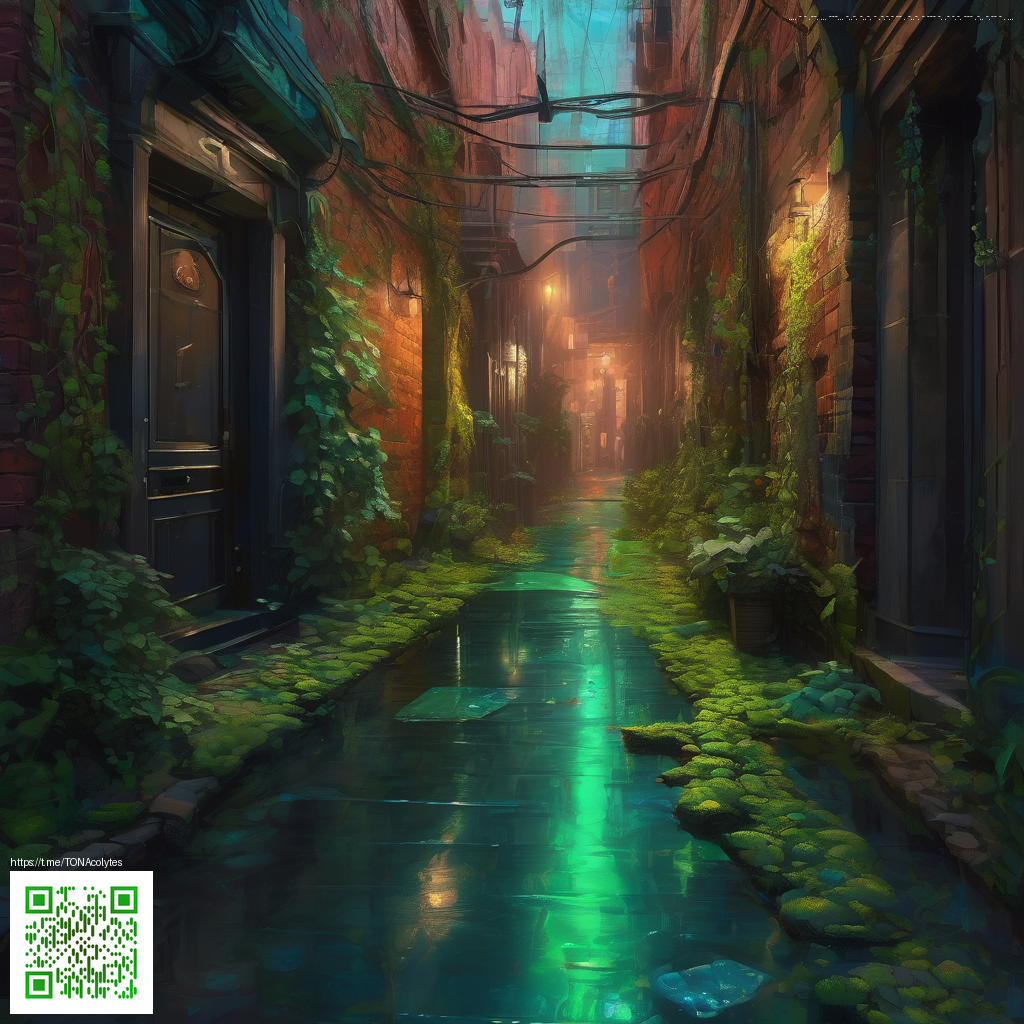
Texture, depth, and the sense of realism
Digital paper shines when you layer subtle textures on top of your gradient. A gentle grain or whisper of paper fiber adds tactile realism that flat gradients rarely achieve. Try layering a low-contrast texture on a separate overlay track and adjusting opacity until the gradient still reads clearly but gains that tangible quality. This is where the art of ombre becomes technique: texture breathes life into color transitions.
- Apply a noise or paper grain texture at 2–8% opacity to introduce micro-variation.
- Mask the texture to follow the gradient direction for a cohesive look.
- Experiment with subtle vignetting near the edges to draw attention toward the center.
- Save gradients as layered presets you can reuse in future projects.
When you’re planning a workspace for long editing sessions, a comfortable setup can indirectly improve your creative output. For example, a well-designed wrist rest, such as the Foot-shaped Ergonomic Memory Foam Wrist Rest Mouse Pad can help you maintain ergonomic posture during long tasks. A steady posture supports steady hands, which translates to more consistent brushwork and gradient adjustments on screen.
Workflow practicalities: turning idea into a ready-to-use background
Having a repeatable workflow is the difference between a one-off gradient and a design asset you can reuse. Here’s a concise process you can adapt to your favorite design tool:
- Set up a canvas sized for your use case (web, print, or app). Create a vertical gradient with your chosen color stops.
- Duplicate the base layer and apply a subtle texture overlay with low opacity.
- Fine-tune the gradient’s angle to match how your composition will be viewed, then apply a soft vignette if needed.
- Export as both a web-friendly PNG/JPEG and a layered file (PSD/AFNB) for future edits.
For inspiration beyond your own toolkit, you can review an example of ombre design work at the following reference: https://magic-images.zero-static.xyz/7ca370a9.html.
Design consistency: accessibility and readability
An ombre backdrop should enhance, not hinder, readability. When you overlay text or icons, ensure sufficient contrast. Pair light-to-dark transitions with clear type colors—often a near-white on the darkest portion or a near-black on the lightest part works best. Remember to test your gradient against real content to confirm that the message remains legible across devices.
Pro tip: keep a few saved palettes with different tonal ranges. The same technique can yield crisp, bold gradients for posters or soft, muted bases for product photography backdrops. A well-documented gradient kit saves you time and keeps brand visuals consistent.