Image courtesy of Scryfall.com
Turning a 2-Cost Devil into a Masterclass in Mana Curve Management
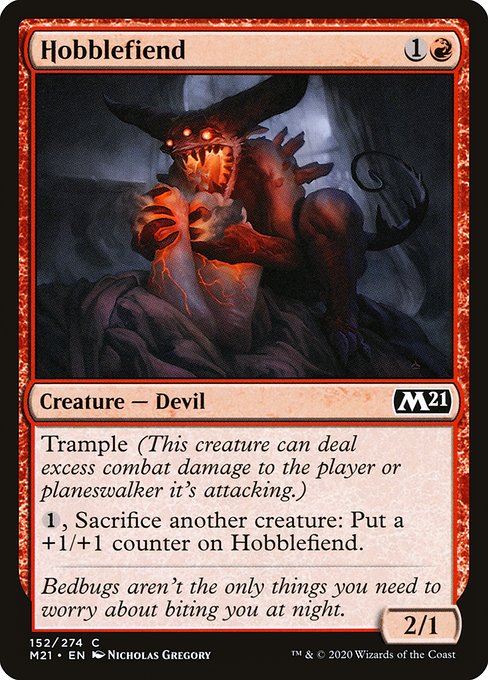
Hobblefiend arrives with a deceptively simple line: a red 2/1 creature with trample for {1}{R}, plus a compact but spicy engine—{1}, Sacrifice another creature: Put a +1/+1 counter on this creature. In Commander circles, where the board often floods with bodies and your life total becomes a resource, that little combo can reframe how you think about your mana curve 🧙🔥. The card’s set, Core Set 2021 (M21), anchors it as a reliable, common-side engine that red decks can lean on when they want to push pressure while steadily buffing a single beater. The real trick is not just playing Hobblefiend early, but pairing it with a steady rhythm of fodder and cheap mana to keep the pressure on as you climb the curve 💎⚔️.
“Bedbugs aren't the only things you need to worry about biting you at night.” — Hobblefiend’s flavor text might be grim, but in practice, that bite translates into proactive mana management: you want to bite early and keep biting until the table is forced to answer you. 🪙
Where Hobblefiend fits on the curve
With a mana cost of {1}{R}, Hobblefiend wants to be in play by turn 2 or 3 in a typical Commander setup. The trick is not just casting it—it's using its sacrifice ability to scale its power as you approach the midgame. The combination of trample and a built-in self-buff through sacrificing “fodder” creates a miniature value engine. If you’ve managed to generate a token or two, or you’ve procured a cheap 1/1 to sacrifice, Hobblefiend quietly becomes a threat that grows even as you deploy other cards. In a red-heavy shell, you’re looking to keep a thin, aggressive clock, then lean into the pump-counter mechanic to punch through defenses and threaten lethal commander damage while you chisel away at life totals 🧙🔥.
Strategies to optimize your mana curve around Hobblefiend
- Early ramp without over-committing: You want lands and rocks that reliably produce red mana or generic mana so you can cast Hobblefiend by turn 2 or 3 without stopping your other plays. Cards that smooth your color acquisition help you keep the red mana flowing for both casting and activations. The goal is to reach that {1} mana cost and still have a usable red source for a follow-up threat or burn spell.
- Feed the engine with fodder: Hobblefiend’s ability rewards you for sacrificing another creature. Build a board state where you can replace sacrificed creatures with quick, disposable bodies—think token generators or recurring bodies from other effects. Every sacrificed creature upgrades Hobblefiend’s power and makes the next attack more threatening, which in turn accelerates your curve toward the midgame.
- Outlets matter: A reliable sac outlet is the backbone of this plan. Whether you gravitate toward colorless or multicolor options in your deck, you want at least one efficient way to trigger that sacrifice ability when you need the buff. A well-timed sacrifice can turn a modest 2/1 into a formidable 3/4 or larger, enabling you to push through with trample damage even through blockers.
- Token creators as value engines: Tokens aren’t just cute—on the mana curve, they’re currency. Create cheap bodies that you can sacrifice for a big payoff on Hobblefiend. The more you generate, the more opportunities you have to juice Hobblefiend’s stats while maintaining a steady stream of threats on consecutive turns.
- Protect and pressure: Red decks love to threaten immediately. Don’t overextend into sweepers; instead, pair Hobblefiend with a resilient early threat and armor it with removal or bounce options. The result is that your curve remains lean, but your threats stay potent, forcing opponents to answer your board or concede valuable tempo to you 🧙🔥.
Deck-building notes: shaping the curve around a grim little devil
When you weave Hobblefiend into a Commander deck, you’re not aiming for a straight line—you're crafting a nimble arc that climbs as you sac and replace bodies. A red-centric plan takes advantage of cheap plays and effective sac outlets, turning each creature sacrifice into incremental value. The core idea is to align your mana base so you can reliably cast Hobblefiend on turns 2–3 and have enough red mana left for an immediate activation when you need to boost its power. This often means packing a handful of 1- and 2-drops that can either fuel your early aggression or serve as immediate sacrifice fodder later in the game 🔥🎲.
The set’s atmosphere—Nicholas Gregory’s art and M21’s signature flavor—remains a reminder that red is about speed, improvisation, and heat-of-the-moment decisions. Hobblefiend embodies that creed on a micro scale: a small body with a big potential, awakening into a true threat as you bend the curve to your will ⚔️🎨.
Red’s mana curve isn’t about flashing a huge threat every turn; it’s about forcing a decision: punish their plan right now, or fuel a future attack that overwhelms them later. Hobblefiend helps tilt that decision toward the former, by giving you a scalable, resilient engine you can deploy through the early and midgame 🧠.
If you’re brewing a red Commander shell that wants to optimize the mana curve while keeping the pressure constant, Hobblefiend is a natural fit. It rewards you for thinking beyond the cost curve and toward the lifecycle of your board—turning a couple of cheap plays into a chain of empowered attacks. And because the card is common in M21, it’s an accessible centerpiece for a budget-friendly build that still hits like a hammer on curve-tied turns 🎯💎.
While you’re tinkering with your mana curve, you might also enjoy a tangible upgrade for your arsenal on the go. The Rugged Tough Phone Case—an impact-resistant TPU/PC shell—keeps your deck-building notes and playlogs safe when you’re on the road to a Friday night Commander session. It’s a small-but-sturdy companion for the long tournaments and casual nights alike.
For more card-specific insights, you can explore Hobblefiend on Scryfall and see its official gatherer entry as you pin down the exact tokens and outlets you want to run. The card’s commons status in M21 makes it a versatile pick with broad synergy in any Rakdos, Gruul, or red-focused arcade of a deck—perfect for players who love to mix speed, sacrifice, and a little fire in their playstyle 🧙🔥⚡.