Elevate Your Cricut Creations with Digital Paper Backgrounds
Digital paper backgrounds are a versatile secret weapon for anyone using Cricut machines. They let you layer color, texture, and pattern without needing bulky printed sheets or complex supplies. Whether you’re cutting vinyl, cardstock, or iron-on, these backgrounds serve as ready-made backdrops that can instantly add depth and personality to every project.
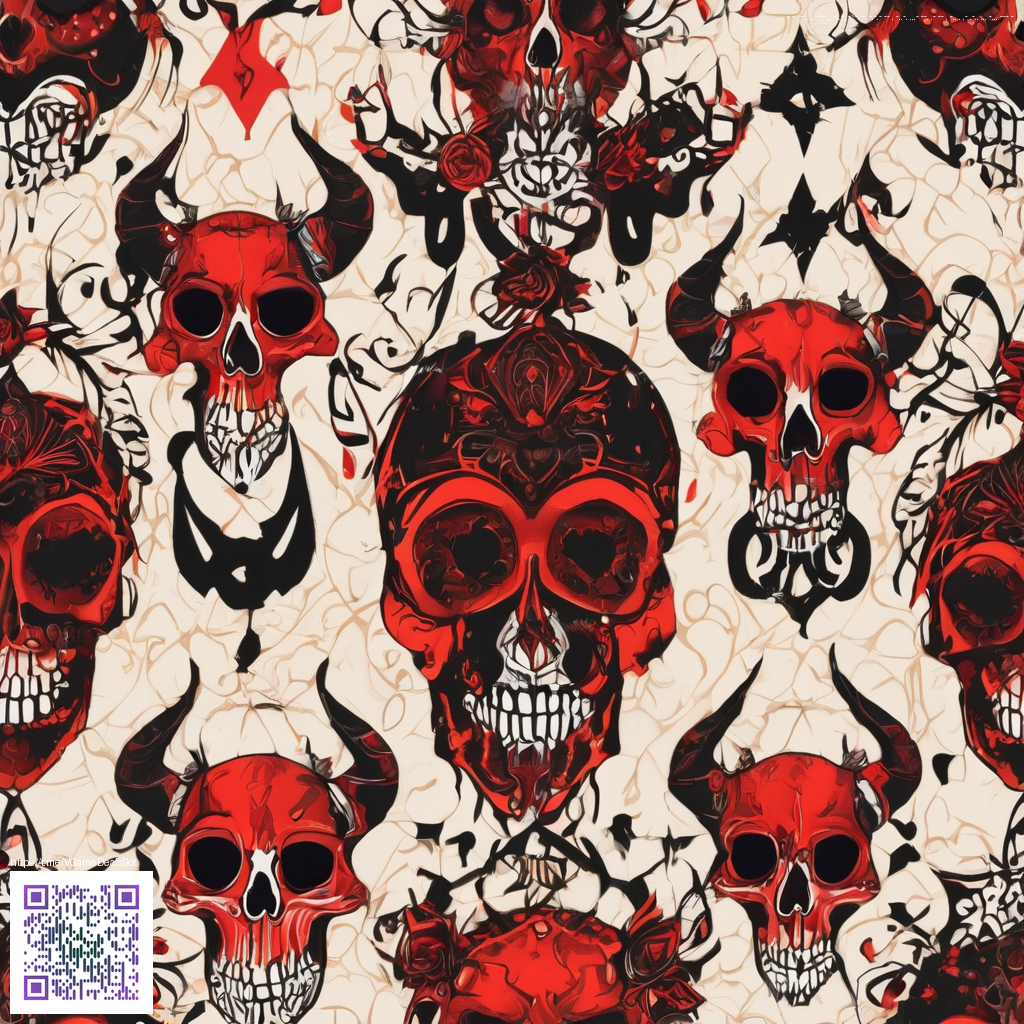
At their core, digital papers are high-resolution patterns you can print or cut directly in your design workflow. The magic happens when you pair a bold motif with the crisp precision of Cricut’s tools. Instead of guessing which papers go together, you can test palettes digitally, then bring your favorite combinations into physical form with confidence. If you’re curious to see how a curated collection can look in action, take a quick look at the gallery-style examples on this page. It’s a great source of inspiration for colorways and layout ideas.
Why digital backgrounds work so well with Cricut
One of the biggest advantages is flexibility. Digital backgrounds can be scaled, recolored, or rearranged to fit any project—cards, scrapbook pages, decals, gift tags, or home décor. They’re also ideal for print-then-cut workflows, where you print the background on your printer and then cut precise shapes or sentiments with your Cricut. The result is a polished, professional look that feels custom-made, without the expense of multiple specialty papers.
Tip: Start with a cohesive color palette. A well-chosen digital background can guide your entire design, keeping elements harmonious even as you experiment with shapes and textures.
How to use digital paper backgrounds in your designs
- Choose high-resolution patterns: Look for seamless patterns and clean edges. A 300–600 DPI range is typically ideal for most Cricut projects, ensuring crisp lines when you cut or print.
- Decide your technique: For vibrant cards, consider a print-then-cut approach where the background is printed on special paper or sticker sheets, then cut with accuracy. For vinyl decals or layered die-cuts, you can import the background as a layer and align it beneath shapes.
- Match materials: Pair busy backgrounds with simpler foreground elements to avoid a cluttered result. If your background is bold, keep fonts and shapes clean and minimal.
- Plan margins and bleed: When printing, account for printer margins and any trimming necessary after cutting. A small margin can prevent essential details from being cropped.
- Experiment with layering: Stack multiple digital papers by using translucent effects or alternating opacities in Design Space to create depth without overwhelming the focal point.
- Test print settings: Print a quick mock-up on plain paper before committing to specialty stock. This helps you preview color balance and alignment before you cut.
Project ideas to try this week
- Greeting cards with textured backdrops that peek through die-cut windows
- Scrapbook pages where a digital background anchors photos and captions
- Custom gift tags that combine a patterned base with metallic or matte accents
- Vinyl decals for laptops, water bottles, or planners featuring complementary backgrounds
- Printable planner inserts with decorative borders and typography
For crafters who travel or craft on the go, a practical accessory can help keep tools organized. If you’re shopping for a compact, protective option, consider the Neon Card Holder Phone Case—a handy companion that pairs well with your busy DIY schedule. It’s a reminder that, even when you’re away from your studio, you can carry your essentials with style. You can also explore more product ideas and related gear on the product page linked above.
Bringing it all together
Digital paper backgrounds are not a one-trick solution; they’re a flexible toolkit. As you experiment, you’ll discover that certain patterns make specific projects sing, while others provide a subtle backdrop that lets your main message shine. The key is to start with a clear goal, test digitally, and then bring the best ideas to life with your Cricut machine. With a thoughtful approach, you’ll transform simple shapes into expressive, professional-looking pieces that feel crafted and cohesive every time.
To keep your workflow streamlined, consider bookmarking your favorite digital paper sources and organizing your designs by project type and color palette. The combination of well-chosen backgrounds and precise cuts can elevate even the simplest project into something striking and memorable.