Image courtesy of PokeAPI (official artwork)
Wormadam-Sandy's Stat Spread at a Glance
As Wormadam-Sandy steps onto the field, its build immediately signals a focus on sturdy physical presence rather than raw speed or spike-like offense. The base numbers reflect that ethos: HP 60, Attack 79, Defense 105, Special Attack 59, Special Defense 85, and Speed 36. The standout attribute is Defense at 105, giving it impressive bulk against physical threats. Combined with HP 60, this makes Wormadam-Sandy a credible physical anchor for a team that needs a reliable wall in the mid-to-late game. Its Attack of 79 offers respectable wall-breaking potential, while its relatively low Special Attack (59) and modest Special Defense (85) mean it isn’t built to soak special hits for long. Speed sits at 36, which reinforces its role as a slower, beefy option that thrives when the opponent isn’t pressuring it with speed. ⚔️🛡️
What that stat mix means in practice
- Bulk with a purpose: The high Defense makes Wormadam-Sandy a reliable physical absorber. It can stall or pivot through exchanges when paired with teammates that can handle its weaknesses or finish off threats it wears down.
- Solid baseline offense: An Attack of 79 lets it threaten with physical moves that rely on its STAB potential, making it more than a pure wall in many scenarios.
- Speed as a bottleneck: With Speed at 36, you’ll want to anticipate foes or support from faster teammates. Positioning and timing become critical to maximize its value.
- Balanced defenses:** While Special Defense 85 isn’t shabby, it’s clearly not the focus. Wormadam-Sandy rewards careful matchup planning, especially against special attackers that can bypass its bulk.
Battle Role and Tactical Outlook
In battle, Wormadam-Sandy typically slots into a defensive or role-plication role that emphasizes staying power and forward pressure. Its mix of bulk and middling offense positions it well as a physical wall that can force opponents to commit to a particular plan, allowing teammates to capitalize on favorable switches or setup opportunities. Because its primary goal is to weather hits and slowly wear opponents down, you’ll want to choose partners that complement its weaknesses and cover its blind spots. 💪🛡️
Key positionings to consider: - Use Wormadam-Sandy to anchor a defensive core, soaking up physical hits from adverse frontline threats while your sweepers or attackers take advantage of the openings Wormadam-Sandy creates. - Lean into its decent Attack to pressure defensive cores that rely on setting up passive turns. Even without flashy high-speed aggression, a well-timed hit can shift momentum in a close game. 🌀
Type Interactions: What to Expect with a Bug/Ground Hybrid
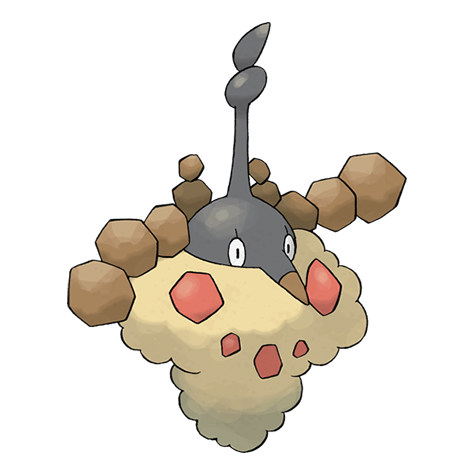
Wormadam-Sandy carries Bug and Ground as its dual typings, which shapes its common matchups and the decisions you’ll make in battle. The Ground portion contributes to Electric immunity, a valuable asset that helps it shrug off certain special and utility plays that rely on Electric coverage. The Bug portion broadens the range of physical moves it can leverage for meaningful impact, and both typings contribute to a sturdy, terrestrial presence on the field. In practice, you’ll want to respect fast threats that punish bulk if you’re overextending, and you’ll appreciate the resilience Wormadam-Sandy brings when the opposing team leans into heavy-physical traffic. 🪨⚡
Because this dataset doesn’t enumerate explicit moves or abilities, you’ll gauge viability by how its bulk interacts with typical physical attackers and how its STAB potential (Bug/Ground) can pressure common defensive cores. In build terms, consider how your team handles opponents that threaten Wormadam-Sandy with special offense or faster forcing moves, and plan switch-ins accordingly. The beauty of a bulk-forward Pokémon like this is not in breaking the game in a single turn, but in sustaining long, grueling sequences where every hit counts. 🌿🔥
Teammate Synergy and Practical Setup Ideas
Pair Wormadam-Sandy with teammates who can handle faster or more specialized threats, creating a balanced frontline that can endure and stall when needed. A faster pivot or a strong special attacker on the team can help take down the types Wormadam-Sandy struggles with, while a tanky support or hazard-control presence can maximize the value of its bulk. The goal is to leverage its robust defense to set up or wear down opponents, then transition to teammates who benefit from the openings Wormadam-Sandy buys you. 🧭
Training Philosophy: How to Play It Right
With a stat profile like this, a bulk-oriented approach tends to be the most natural fit. Prioritize safer, predictable engagements where Wormadam-Sandy can absorb incoming hits and apply pressure through its own physical actions. If you’re playing in a casual story mode or a standard battle format, think in terms of trade-offs—advancing the field presence and forcing opponent switches, while keeping an eye on coverage against special attackers that can bypass the bulk. Remember, consistency matters; Wormadam-Sandy shines when it remains a reliable shield rather than a high-risk foray. ✨